Outlook
Microsoft's flagship email program, capable of managing email, calendar, and contacts for multiple accounts.
Outlook Email 2013 Tutorial
The following steps will walk you through how to setup Outlook to download your email. Just follow the instructions below the picture.
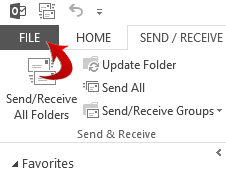
1. Select the File menu.
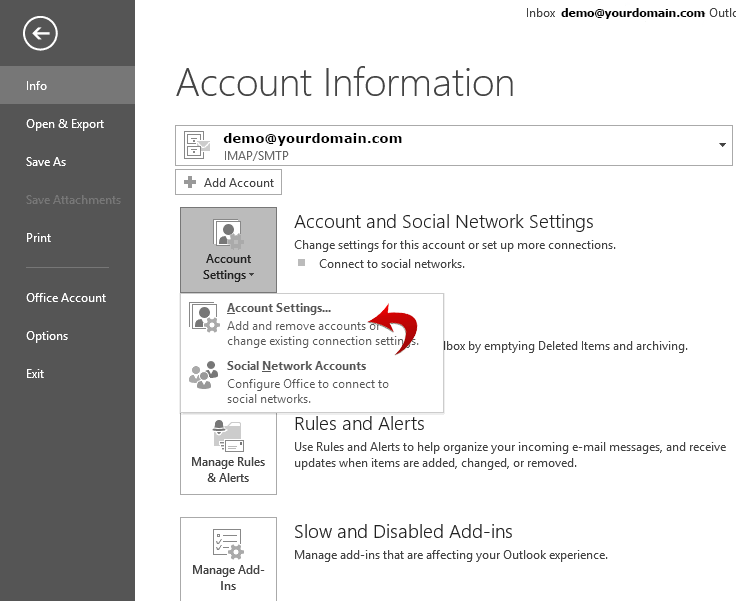
2. Select the Info menu item, Account Settings, then click Account Settings below the drop down.
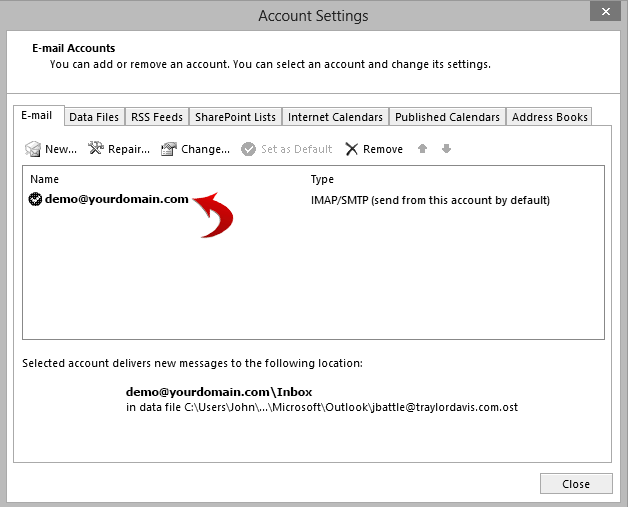
3. If your account is already listed, double click that account. If not, click New...
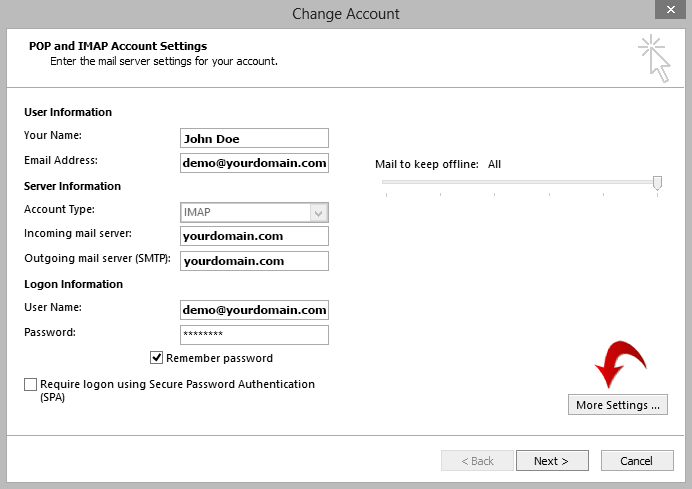
4. Make sure to enter all the correct information. We suggest using IMAP instead of POP3 for your account type. Make sure to enter your full email address for your User Name. Click More Settings...

5. Under the General tab, make sure your email is appearing in the top field.
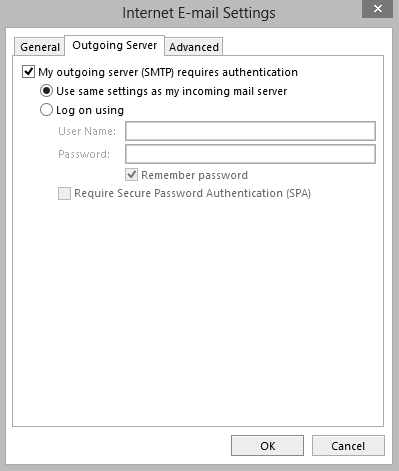
6. Under the Outgoing Server tab, check the top box and select "User same settings as my incoming server". Check the "Remember Password" box.
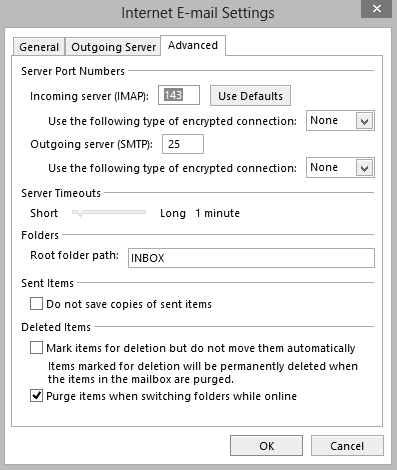
7. Click the Advanced tab. Use port 143 for Incoming Server. Under Outgoing server SMTP, if port 25 does not work, try port 26 instead. In the Root Folder Path field, enter INBOX. Check the last box "Purge items when switching folders while online". Click OK.
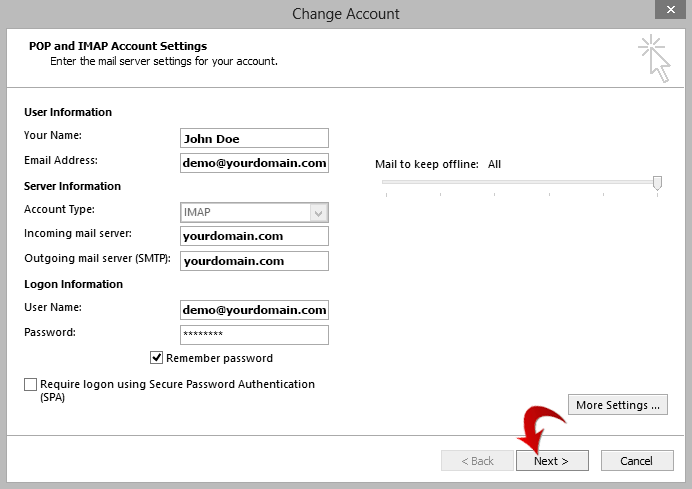
9. When you see this screen, click Next. It will then run tests to ensure that the email is working properly.
Finished! Your account is now setup and ready to use. If you have multiple accounts, repeat these steps with the other account information.